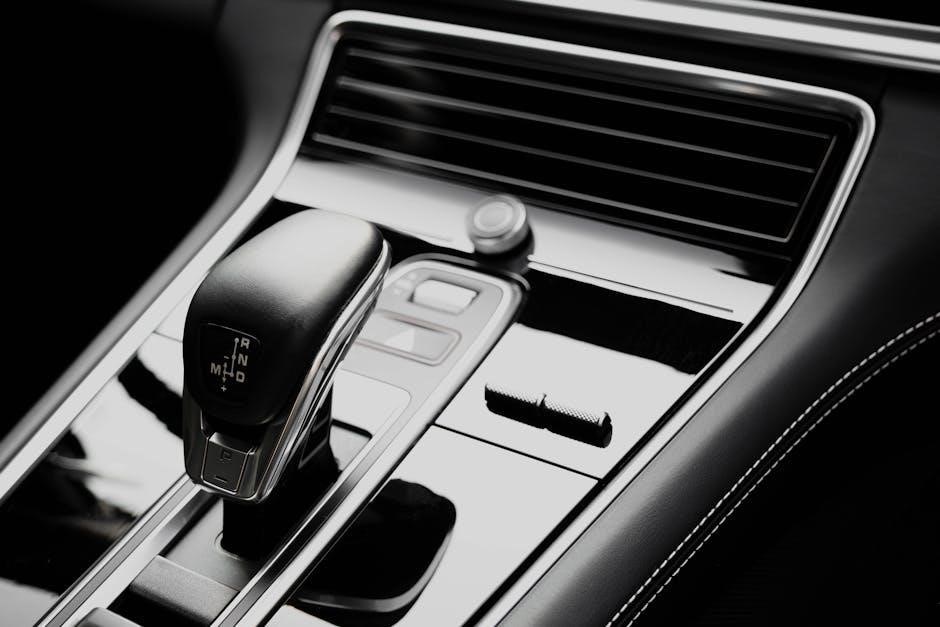
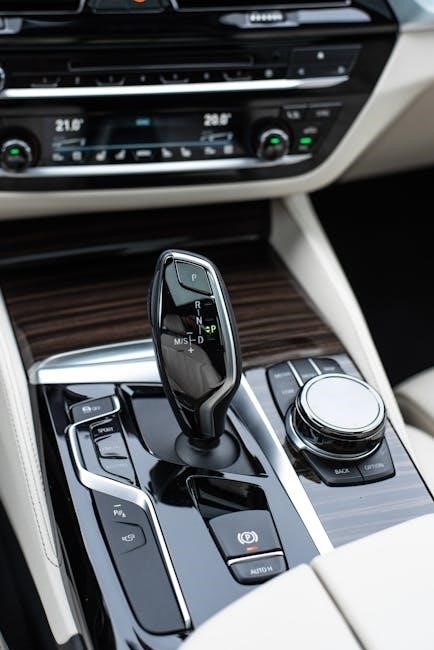
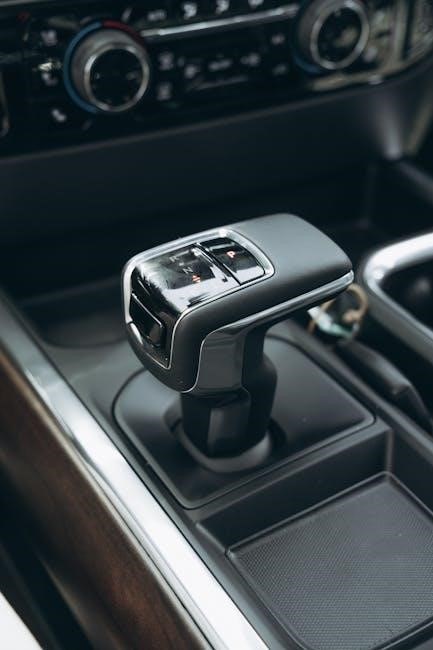
manual to automatic transmission conversion
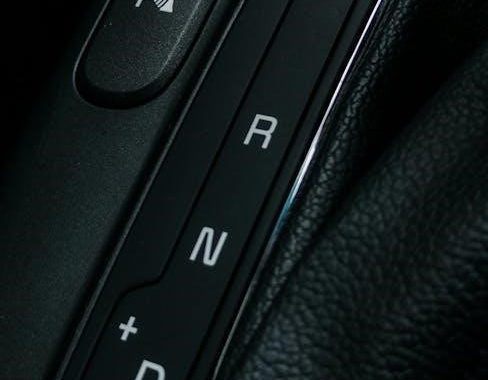
manual to automatic transmission conversion
Converting from automatic to manual transmissions offers a more engaging driving experience, but it’s a complex undertaking․ This guide details the process,
challenges, and associated costs, potentially ranging from $1,800 to $6,000 USD, as seen with a Mitsubishi Lancer conversion․
Overview of the Conversion Process
The conversion fundamentally involves removing the existing automatic transmission, encompassing disconnecting all associated linkages and wiring․ Subsequently, a manual transmission, clutch assembly, and corresponding pedal system must be installed․ Crucially, bell housing alignment with the driveshaft centerline is paramount; mismatches necessitate fabrication or component replacement․
Electrical wiring requires modification to accommodate the manual transmission’s controls, potentially needing ECU reprogramming․ Finally, the system demands thorough fluid filling and bleeding․ This isn’t a simple swap; it’s a comprehensive overhaul demanding mechanical expertise and careful attention to detail, as evidenced by the significant labor costs involved in professional conversions․
Why Convert? Exploring the Benefits
Converting to a manual transmission fundamentally enhances driver engagement, providing greater control and a more connected feel to the vehicle․ Many enthusiasts prefer the directness and responsiveness of a manual gearbox․ Beyond the driving experience, manual transmissions often offer improved fuel efficiency, though this varies by vehicle and driving style․
Furthermore, a manual swap can potentially increase vehicle value among certain buyers․ While the initial cost is substantial – potentially $6,000 or more – the long-term benefits of a more enjoyable and potentially more efficient driving experience often outweigh the expense for dedicated enthusiasts․
Essential Components for the Conversion
Successful conversion requires a compatible transmission, clutch kit, bell housing, driveshaft, and pedal assembly; ensuring proper alignment and functionality is crucial for a smooth swap․
Transmission Selection: Finding the Right Fit
Choosing the correct manual transmission is paramount for a successful conversion․ Consider the engine’s horsepower and torque capabilities to ensure the transmission can handle the load․ Sourcing a transmission from a similar generation vehicle, like finding a good one on Craigslist as one owner did with their Accord, can simplify the process․
Compatibility is key; verify gear ratios align with your driving style and vehicle’s final drive․ Thorough research is vital, as incorrect selection leads to performance issues or even damage․ Prioritize transmissions in good working order to minimize future repairs and maximize reliability․ A used, but functional, transmission can significantly reduce overall costs․
Clutch Kit: Components and Compatibility
A complete clutch kit is essential, encompassing the pressure plate, clutch disc, throw-out bearing, and pilot bearing․ Compatibility with the selected transmission and engine is non-negotiable․ Ensure the kit is rated for your engine’s torque output to prevent premature wear or failure․
Consider the type of driving – a performance clutch is suitable for aggressive driving, while a daily-driver clutch prioritizes smoothness․ Verify the kit includes all necessary hardware for a complete installation․ Mismatched components can lead to slippage, noise, or difficulty shifting, so careful selection is crucial․
Bell Housing Considerations: Alignment and Matching
The bell housing is a critical component, demanding meticulous attention during a manual conversion․ Automatic and manual bell housings often differ, impacting alignment with the engine and transmission centerline․ A mismatch renders expensive parts unusable, necessitating fabrication – a costly endeavor․
Verify the chosen bell housing perfectly aligns with both the engine block and the new manual transmission․ Precise alignment prevents vibrations and ensures smooth operation․ If incompatibility exists, professional fabrication or sourcing a compatible bell housing is essential before proceeding with the conversion․
Driveshaft Compatibility: Ensuring Proper Connection
Driveshaft length is paramount for a successful manual transmission swap․ Automatic and manual transmissions have differing output shaft lengths, potentially causing incompatibility with the existing driveshaft․ A driveshaft that’s too long or short will induce vibrations, stress on components, and ultimately, failure․
Carefully measure and compare the required driveshaft length for the manual transmission setup․ Modification or complete replacement of the driveshaft is often necessary․ Ensure proper U-joint angles are maintained for smooth power transfer and longevity of the drivetrain components․
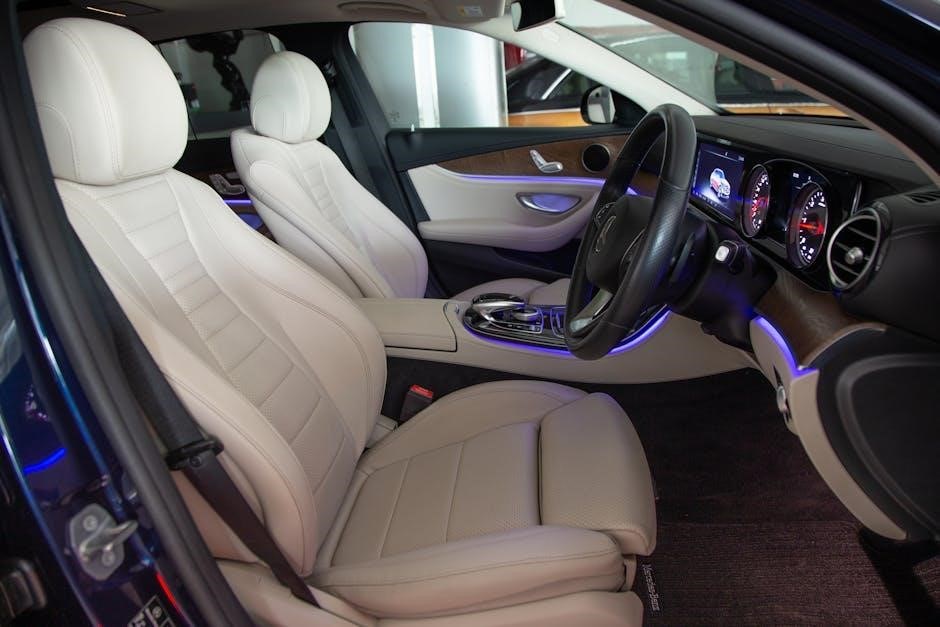
Pedal Assembly: Installing the Clutch and Brake Pedals
Converting to a manual transmission necessitates a complete pedal assembly overhaul․ Vehicles originally equipped with automatics lack the clutch pedal and associated linkage․ Sourcing a complete manual pedal assembly – including the clutch pedal, master cylinder, and brake pedal – is crucial․
Proper installation requires precise alignment and secure mounting․ Ensure the clutch pedal’s travel and engagement point are correctly adjusted for optimal performance․ Verify brake pedal functionality remains unimpaired during the process․ Careful attention to detail prevents operational issues and ensures driver safety․
Tools and Equipment Required
Successful conversion demands specialized tools like transmission jacks, alongside standard automotive sets․ Safety gear is paramount, including eye protection and gloves, for a secure process․
Specialized Tools: What You’ll Need
Undertaking a manual to automatic transmission conversion necessitates specific tools beyond a standard mechanic’s kit․ A transmission jack is crucial for safely lowering and raising the heavy transmission unit․ You’ll require a flywheel holding tool to secure the flywheel during clutch installation․
Specialized sockets, including those for axle nuts and potentially bell housing bolts, are essential․ A clutch alignment tool ensures proper disc centering․ Furthermore, consider a torque wrench capable of accurately measuring within the manufacturer’s specifications․ Diagnostic tools for reading and clearing ECU codes may also prove invaluable during the wiring phase․
General Automotive Tools: A Comprehensive List
Alongside specialized tools, a comprehensive set of general automotive tools is vital for a successful conversion․ This includes a full socket set (metric and standard), wrenches, screwdrivers (various types), pliers, and a hammer․ Jack stands are non-negotiable for safe vehicle support․
Essential are penetrating oil for stubborn bolts, a breaker bar for loosening tight fasteners, and various extensions․ A fluid drain pan is needed for removing transmission and engine oil․ Don’t forget safety glasses, gloves, and a shop manual specific to your vehicle for torque specifications and diagrams․
Safety Equipment: Prioritizing Your Well-being
Undertaking a manual to automatic transmission conversion demands strict adherence to safety protocols․ Always wear safety glasses to protect your eyes from flying debris and gloves to shield your hands․ A sturdy pair of steel-toed boots is crucial, preventing foot injuries from dropped components․
Crucially, utilize jack stands – never rely solely on a jack․ Ensure the work area is well-ventilated, especially when dealing with fluids․ Have a fire extinguisher readily available․ Familiarize yourself with your vehicle’s safety systems before disconnecting anything, and disconnect the battery to prevent electrical hazards․
Step-by-Step Conversion Guide
Begin by removing the automatic transmission, then install the manual unit, carefully connecting the clutch system․ Next, address wiring and fluid levels for a successful swap․
Removing the Automatic Transmission
Initiate the process by safely lifting and securing the vehicle․ Disconnect the driveshaft, ensuring you support its weight to prevent damage․ Next, detach all wiring and coolant lines connected to the transmission․ Carefully remove the exhaust system components obstructing access․
Support the engine from above, then unbolt the transmission mount․ Slowly lower the transmission using a transmission jack, being mindful of potential obstructions․ Once clear, carefully maneuver the automatic transmission out from under the vehicle․ This step requires patience and attention to detail to avoid damaging surrounding components․
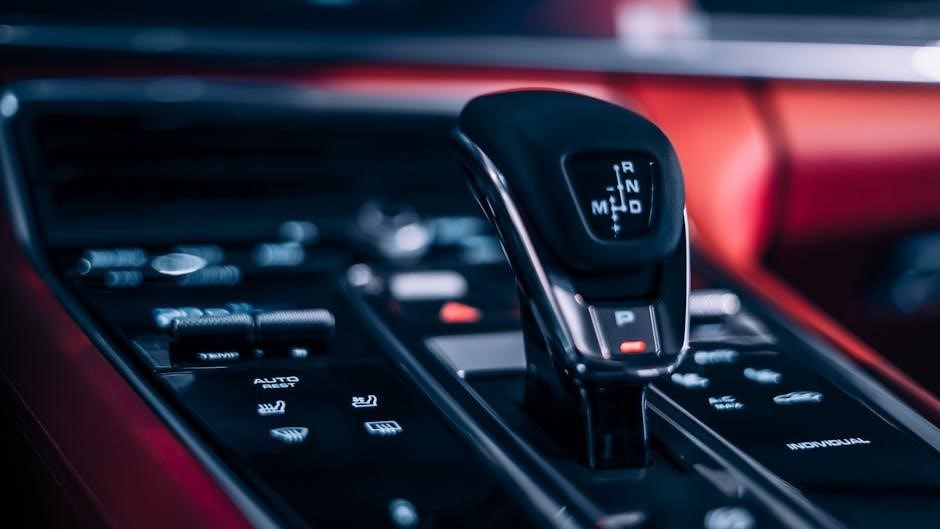
Installing the Manual Transmission
With the automatic transmission removed, prepare for the manual installation․ Using a transmission jack, carefully position the new manual transmission beneath the vehicle, aligning it with the engine․ Slowly raise the transmission until it meets the engine, ensuring proper alignment with the bell housing․
Securely bolt the transmission to the engine, following the manufacturer’s torque specifications․ Reinstall the transmission mount, providing adequate support․ Double-check all connections before lowering the transmission completely onto the mount․ This step demands precision to avoid future issues․
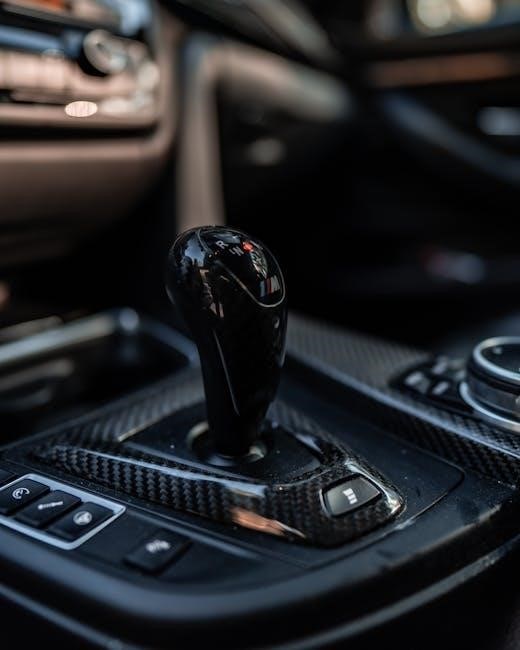
Connecting the Clutch System
After the transmission is mounted, connect the clutch system․ Install the clutch disc, pressure plate, and throw-out bearing, ensuring correct orientation and alignment․ Carefully tighten the pressure plate bolts in a star pattern to prevent warping․
Connect the clutch fork to the release bearing and adjust the clutch cable or hydraulic line for proper pedal travel․ Verify smooth engagement and disengagement of the clutch․ Improper adjustment can lead to difficulty shifting or clutch slippage, requiring re-evaluation and fine-tuning․
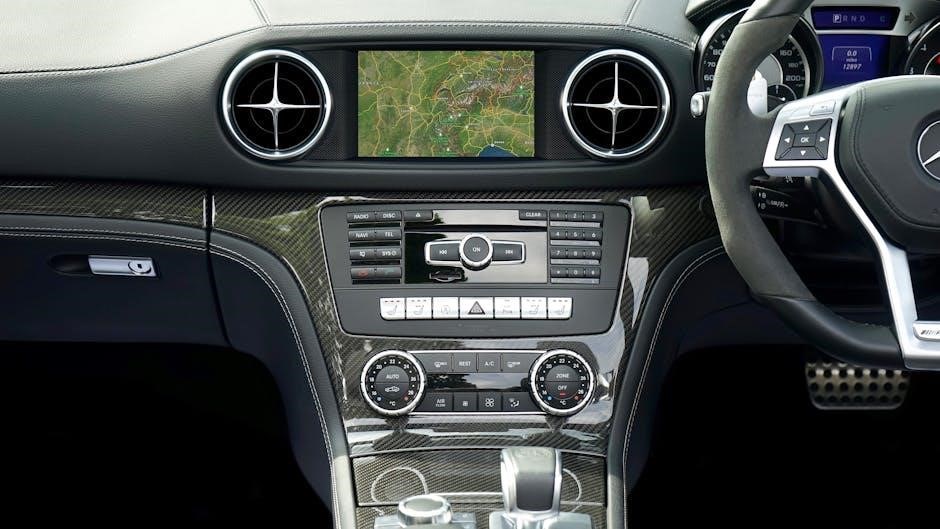
Wiring and Electrical Connections
Manual transmission swaps often necessitate wiring modifications․ Disconnect the automatic transmission wiring harness and identify unused wires․ You may need to integrate wires for the clutch switch, reverse light switch, and potentially the vehicle speed sensor․
Consult wiring diagrams to ensure correct connections․ Some vehicles require ECU reprogramming to remove automatic transmission control functions and accommodate the manual setup․ Incorrect wiring can cause electrical issues or prevent the vehicle from starting, so meticulous attention to detail is crucial․
Fluid Filling and System Bleeding
After installing the manual transmission, fill it with the manufacturer’s recommended gear oil․ Use the correct fluid type and quantity to prevent damage․ Next, bleed the hydraulic clutch system to remove air bubbles, ensuring proper clutch engagement․
Start the engine and repeatedly press the clutch pedal until it feels firm․ Check for leaks around the clutch master cylinder, slave cylinder, and transmission․ Proper fluid levels and a bled system are vital for smooth shifting and reliable operation․
Potential Challenges and Solutions
Common issues include bell housing mismatches, driveshaft length discrepancies, and wiring harness incompatibility․ Fabrication, custom driveshafts, and ECU reprogramming offer solutions․
Bell Housing Mismatch Issues
A significant hurdle in manual conversions is bell housing compatibility․ Automatic and manual transmissions often utilize different bell housing designs, impacting alignment with the engine’s crankshaft․ If the bell housings don’t match or properly align with the driveshaft centerline, the entire setup will be unusable without modification․
This necessitates either locating a compatible bell housing – potentially from a donor vehicle – or incurring the substantial cost of custom fabrication․ Skilled machinists can modify the existing bell housing or create a new one, ensuring proper fitment, but this adds significantly to the overall project expense․ Accurate alignment is crucial for smooth operation and preventing damage․
Driveshaft Length Discrepancies
A common issue during manual transmission swaps involves driveshaft length․ Automatic and manual transmissions have differing output shaft positions, frequently resulting in a driveshaft that’s either too long or too short․ An incorrect length prevents proper connection to the rear differential, causing vibrations, driveline stress, and potential damage․
Solutions include shortening or lengthening the existing driveshaft – requiring professional welding and balancing – or sourcing a driveshaft specifically designed for the manual transmission configuration․ Accurate measurement and precise modification are vital to ensure a secure and functional connection, avoiding costly repairs down the line․
Wiring Harness Compatibility Problems
Significant challenges often arise from wiring harness differences between automatic and manual transmission vehicles․ Manual transmissions require wiring for components like the clutch switch, reverse light switch (often wired differently), and potentially a transmission speed sensor․ The existing automatic transmission harness may lack these necessary connections or have incompatible wiring schemes․
Resolving these issues involves carefully studying wiring diagrams, potentially splicing into existing wires, or sourcing a manual transmission-specific wiring harness․ Incorrect wiring can lead to malfunctioning systems or even damage to the vehicle’s electrical components, necessitating professional assistance․
Computer (ECU) Reprogramming Needs
After a manual transmission swap, the vehicle’s Engine Control Unit (ECU) may require reprogramming․ Automatic and manual transmissions communicate differently with the ECU, impacting parameters like engine speed limits, fuel mapping, and torque management․ The ECU might still be looking for signals from the automatic transmission, triggering error codes and potentially limiting performance․
Reprogramming ensures the ECU recognizes the manual transmission and optimizes engine operation accordingly․ This often involves specialized software and expertise, potentially requiring a dealership or a skilled tuner․ Ignoring this step can lead to suboptimal performance and long-term engine issues;
Cost Analysis and Budgeting
Budgeting for a manual conversion requires careful consideration of parts, labor, and potential unforeseen expenses, with total costs ranging from $1,800 to $6,000 USD․
Parts Costs: A Detailed Breakdown
Essential components significantly impact the overall cost․ A transmission itself can range from $800 to $3,000, depending on condition and source – a used, same-generation Accord transmission sourced from Craigslist cost just $500․
A new clutch kit typically falls between $200 and $600․ The bell housing, if requiring fabrication or replacement, adds $300-$800․
Driveshaft modifications or a new driveshaft can cost $200-$500․
Pedal assemblies are around $100-$300․ Don’t forget fluids, hardware, and potentially an ECU reprogramming cost of $100-$500, bringing the total parts cost to approximately $1,700 ─ $5,100․
Labor Costs: Dealership vs․ Independent Mechanic
Dealerships generally charge higher labor rates, offering the benefit of manufacturer-trained technicians and parts warranties, as exemplified by a Mitsubishi Lancer conversion costing $6,000 USD․ Expect 20-40 labor hours at $100-$150/hour, totaling $2,000 ⸺ $6,000 in labor alone․
Independent mechanics typically offer lower rates, potentially $50-$100/hour, reducing labor costs to $1,000 ─ $4,000․ However, warranty coverage may be limited․
Complexity dictates the final bill; fabrication work significantly increases costs․ Thoroughly vet mechanics and obtain detailed quotes before commencing work․
Unexpected Expenses: Planning for the Unknown
Manual to automatic conversions frequently reveal hidden costs․ Bell housing mismatches or driveshaft length discrepancies may necessitate custom fabrication, adding $500-$1500 to the budget․ Wiring harness compatibility issues could require professional electrical work, costing $300-$800․
ECU reprogramming is often essential, ranging from $200-$600․ Broken bolts during removal, worn bushings, or the need for additional fluid lines are common surprises․
Allocate a contingency fund of 10-20% of the estimated total to cover these unforeseen expenses, ensuring a smoother conversion process․
Total Estimated Conversion Cost (Based on Current Data ─ 02/18/2026)
Based on current data (02/18/2026), a manual to automatic transmission conversion typically ranges from $1,800 to $6,000 USD․ Parts alone (transmission, clutch kit, bell housing, driveshaft) can cost $1,000 ─ $3,000․
Dealership labor averages $1,500 ─ $3,000, offering warranties, as exemplified by a Mitsubishi Lancer conversion costing $6,000․ Independent mechanics may charge $800 ⸺ $2,000 for labor․
Including potential unexpected expenses (fabrication, wiring, ECU reprogramming), a realistic budget falls between $2,500 and $7,000 USD․

Post-Conversion Maintenance and Care
Following the conversion, proper clutch break-in is crucial, alongside regular transmission fluid checks and inspections to ensure the longevity of the new system․
Clutch Break-In Procedure
Proper clutch break-in is paramount after a manual transmission conversion, ensuring optimal performance and longevity․ For the initial 200-300 miles, avoid aggressive driving, including hard launches, high-RPM shifts, and prolonged clutch slippage․
Gradually increase the load on the clutch, allowing the friction material to properly mate with the flywheel and pressure plate․ Avoid holding the clutch at the friction point for extended periods, such as in stop-and-go traffic․
Gentle, smooth engagement is key during this phase․ Following these guidelines will maximize the clutch’s lifespan and prevent premature wear or damage, resulting in a reliable and enjoyable driving experience․
Transmission Fluid Checks and Changes
Regular transmission fluid checks are crucial post-conversion, ensuring optimal manual transmission health․ Unlike automatics, manual transmissions require less frequent fluid changes, typically every 30,000 to 60,000 miles, depending on driving conditions․
Check the fluid level periodically using the dipstick, ensuring it’s within the recommended range․ Look for any signs of contamination or discoloration, which may indicate internal wear or damage․
When changing the fluid, use the manufacturer-specified type to avoid compatibility issues․ Proper fluid maintenance extends the transmission’s life and maintains smooth shifting․
Regular Inspections: Ensuring Longevity
Post-conversion, consistent inspections are vital for a long-lasting manual transmission․ Regularly check for leaks around the transmission housing, driveshaft, and clutch components․ Inspect the shift linkage for smooth operation and proper engagement in each gear․
Pay close attention to the clutch pedal feel; any changes could indicate wear or issues with the clutch disc or hydraulics․ Examine the driveshaft U-joints for play or damage, ensuring proper lubrication․
Address any identified issues promptly to prevent further complications and maintain optimal performance․
Legal and Insurance Implications
Modifying your vehicle with a transmission swap may require adherence to local regulations and could impact insurance coverage; verify compliance beforehand․
Vehicle Modification Regulations
Before undertaking a manual to automatic transmission conversion, thoroughly research your local and state vehicle modification regulations․ These laws vary significantly and can dictate whether the swap is permissible, requiring inspection and certification․ Some jurisdictions may mandate that modifications adhere to original equipment manufacturer (OEM) standards, potentially complicating the process․
Failure to comply with these regulations can result in failed inspections, fines, or even the inability to legally operate the vehicle on public roads․ It’s crucial to document all changes meticulously, including parts used and installation details, to demonstrate compliance during any required inspections․ Consulting with a local automotive legal expert is advisable․
Insurance Coverage Considerations
Modifying your vehicle with a manual to automatic transmission conversion necessitates informing your insurance provider․ Failure to do so could invalidate your policy in the event of an accident․ Insurers assess risk based on vehicle specifications; a significant alteration like this impacts that assessment․
Expect potential premium adjustments, either increases or decreases, depending on the insurer’s evaluation of the modification’s effect on safety and performance․ Some companies may require a vehicle appraisal post-conversion․ Documenting the conversion with receipts and professional installation records is vital for a smooth insurance claim process․

Resources and Support
Online forums and technical manuals offer invaluable assistance during a manual to automatic conversion․ Professional mechanics can provide expert guidance and support throughout the process․
Online Forums and Communities
Dedicated online forums are crucial resources for those undertaking a manual to automatic transmission conversion․ These platforms connect enthusiasts who have firsthand experience, offering advice, troubleshooting tips, and shared knowledge․ Members often discuss specific vehicle models, potential pitfalls, and successful strategies․
Searching for forums related to your car’s make and model is a great starting point; Expect to find detailed threads on parts compatibility, installation procedures, and solutions to common problems․ Active communities can provide invaluable support, saving time and money by preventing costly mistakes․ They are a great place to ask questions!
Technical Manuals and Documentation
Comprehensive technical manuals are indispensable for a successful manual to automatic transmission conversion․ Factory service manuals provide detailed diagrams, torque specifications, and step-by-step instructions specific to your vehicle․ Supplementing these with installation guides for the chosen transmission and clutch kit is vital․
Accessing these resources may involve purchasing physical copies or subscribing to online databases․ Thoroughly reviewing the documentation before starting the conversion helps anticipate challenges and ensures proper installation․ Understanding wiring schematics and ECU reprogramming requirements is particularly crucial for a smooth process․
Professional Mechanic Assistance
Engaging a skilled mechanic can significantly streamline a manual to automatic transmission conversion, especially for complex wiring or fabrication․ Dealerships, while pricier (potentially $6,000 USD, as experienced with a Lancer), offer warranty coverage on parts and labor, ensuring quality and peace of mind․
Independent mechanics may provide more affordable rates, but verifying their expertise in transmission swaps is crucial․ Seeking assistance with bell housing alignment, driveshaft modifications, or ECU reprogramming can prevent costly errors and ensure a reliable outcome․ Don’t hesitate to consult professionals for challenging aspects․